Tutorial: How to take slow motion photos of surfers
If you’re interested in surf photography, you’ve probably seen slow motion panning surf images where the surfer is in focus and the background is blurred. These images work great for action sports and fast moving subjects, because it really gives the impression that the subject is moving.
As you may know, I love to blur out the ocean. I previously wrote a tutorial on how to create these types of panning images with just the ocean, which you can read here, but it’s much more fun to include a human subject. The aim of the game is to get a photo where the surfer is as sharp and in focus as possible, and the background ocean is nice and blurred. Here are some tips to help get you started.
1/10s, f/5.6, ISO 100
Settings
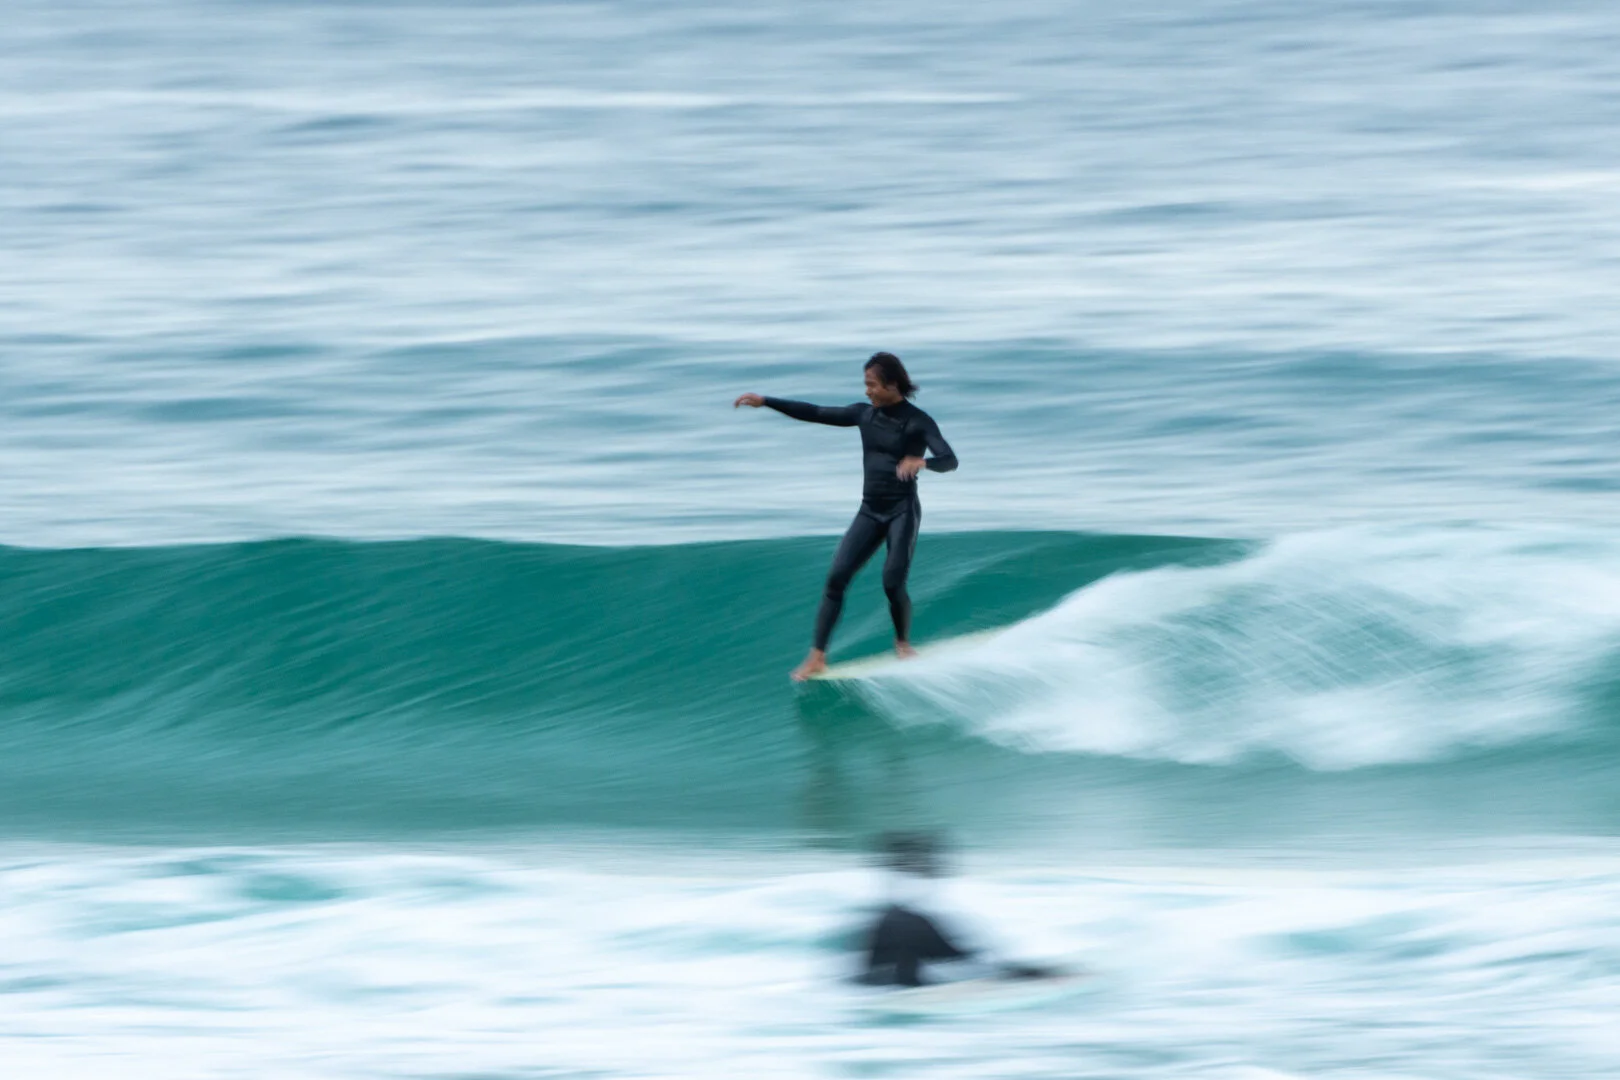
The settings you’ll use really depend on how quickly the surfer is moving. I’d recommend starting out shooting longboarders, as they tend to remain quite still on their boards while gliding along the wave so it’s easier to get their bodies sharp and in focus.
I’d also recommend using a tripod. It is very possible to get these images without one, but it’s just so much easier with one and you’ll get better results faster. You’ll need one with a swivel head so that you can rotate the camera as you’re shooting.
1/10s, f/5.6, ISO 200
Ok, settings. As a basic starting point, I would recommend starting with a shutter speed of 1/20s. If you’re struggling to get a sharp surfer, then try something a little faster until you get the technique down. If this is easy, then try a little slower.
Of course, it depends on how much light there is available, but I’m assuming that you have a basic understanding of exposure if you’re reading this. If you’re trying this in the middle of the day or when it’s still quite light outside, then use an ND filter or a polariser.
How slow you set your shutter speed also depends on what the surfer is doing. If you use a shutter speed so slow that the surfer actually moves in the time that the shutter is open, then the image will be blurry no matter how good your technique is.

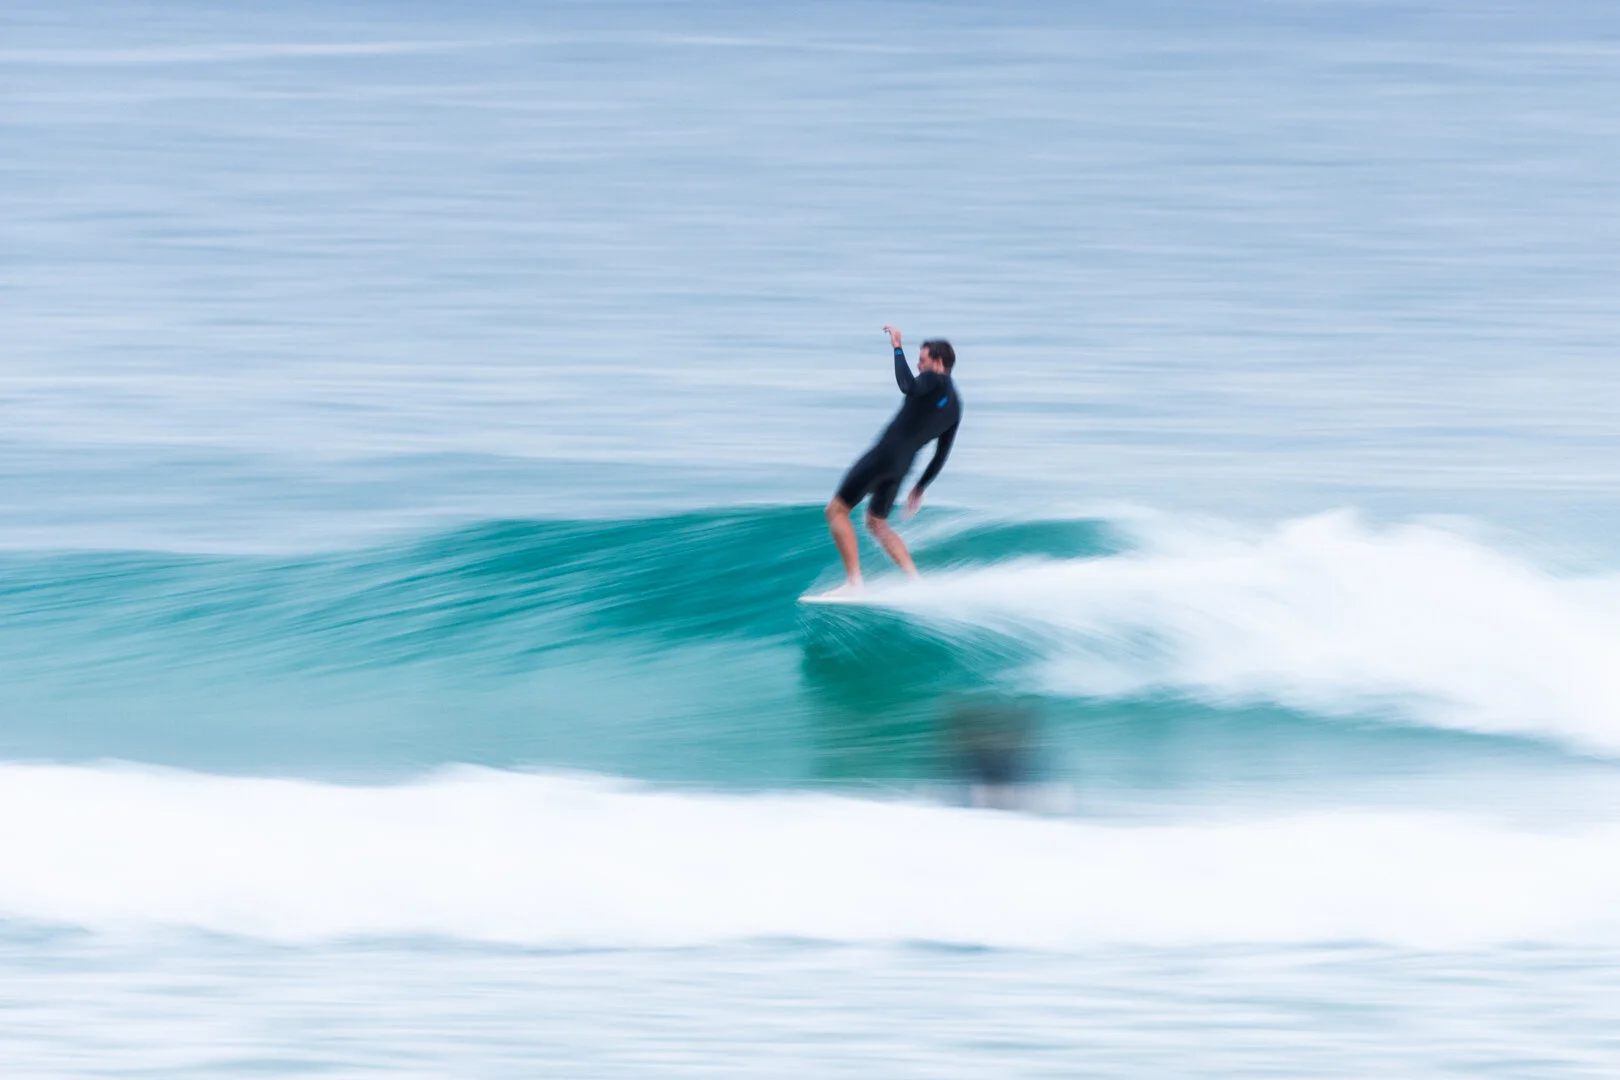
1/10s, f/5.6, ISO 100
Technique
Let’s talk technique. What you’re aiming to achieve is to capture the surfer when they are stationary but the board is moving. If you’re photographing a beginner surfer, then they probably will be stationary for their entire wave. But advanced longboarders move around all the time. Shooting them when they’re at the nose of the board or using a faster shutter to capture them cross-stepping can make for a much more interesting image.


The actual technique is to follow the surfer along the wave with your camera at the same speed as they are travelling. Now remember that when you press the shutter, you won’t be able to see through the viewfinder for the time the shutter is open, so what I recommend is to follow the surfer for a few seconds without pressing the shutter to gauge how quickly they are moving and then press the shutter down. Chances are they won’t have sped up or slowed down too much and you’ll get a shot in focus. This can take practice and a fair amount of it is out of your control, but if you understand surfing then you should be able to predict what the surfer is going to do, and shoot accordingly.
1/30s, f/11, ISO 100
Once you’ve gotten quite good at this technique with longboarders, why not try it with shortboarders. There are so many more things you can shoot - standing in a barrel, a drawn out bottom turn, a floater, even a top turn - all you need is a split second of where part of the surfer isn’t moving. I’d recommend using a slightly faster shutter speed to start off with, perhaps 1/30s and go from there.


Of course, a lot of the time you’ll totally mess it up so be prepared to have a lot of throwaways when you try it, especially the first time.

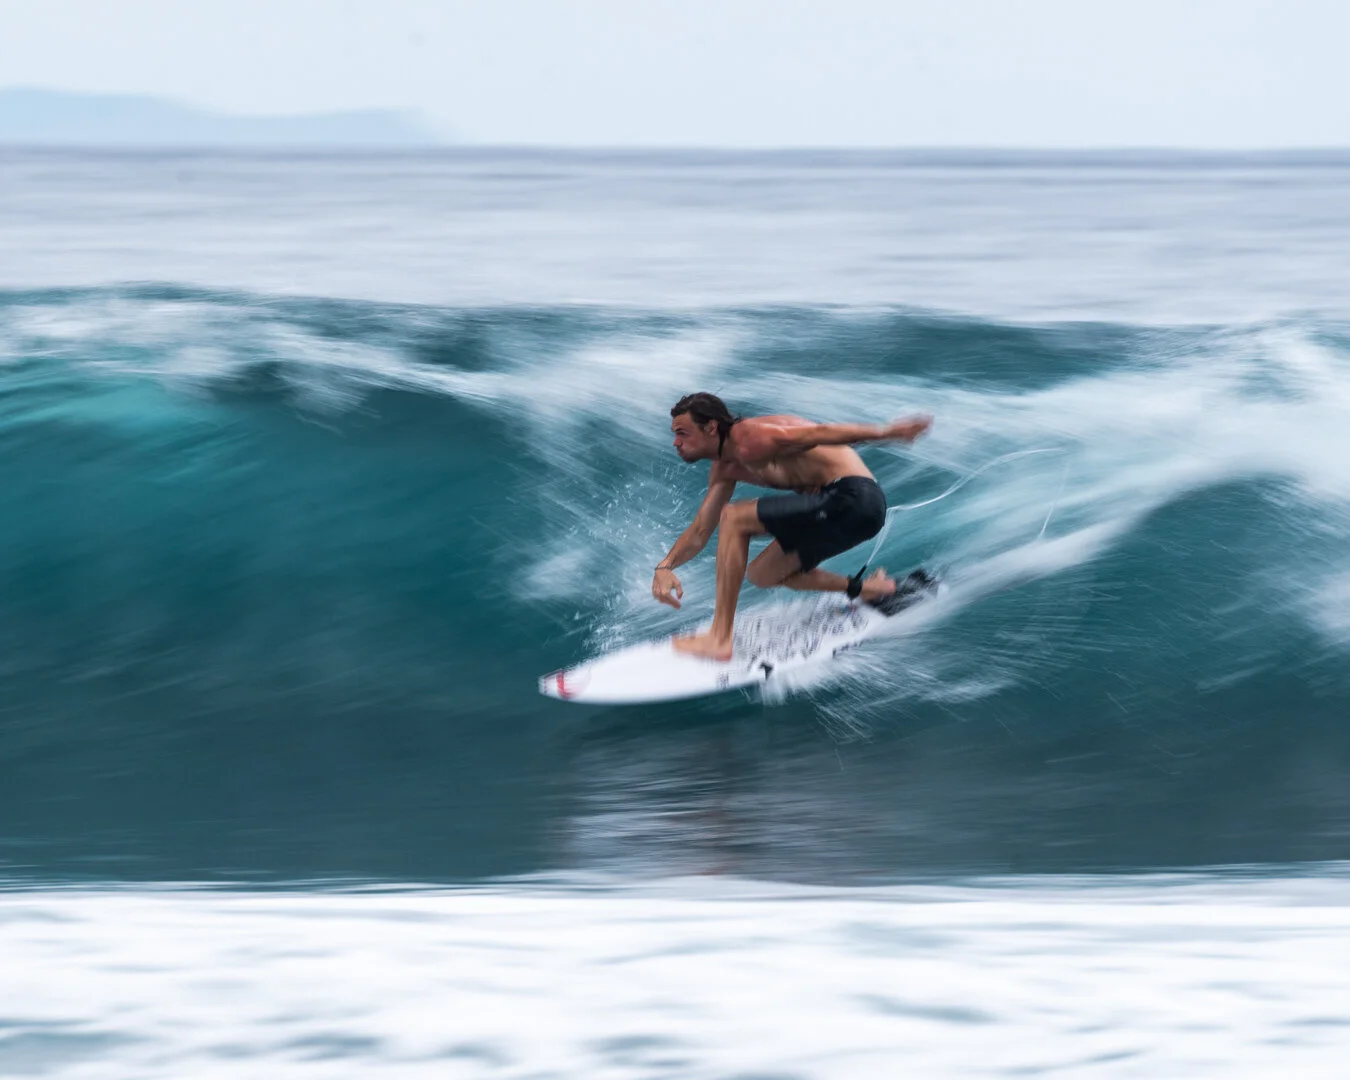
1/20s, f/9, ISO 100
But it feels really incredible when you get it right. The image that I’m most proud of has to be this one of Kipp Caddy surfing at Keramas in Bali. I asked him to specifically do this type of really tight turn over and over so I could get this shot, and we got it on the first go.

1/20s, f/11, ISO 100
I hope these tips help you and inspire you to give it a go. If you’ve got any other questions about this technique, then feel free to get in touch :)
